Introduction
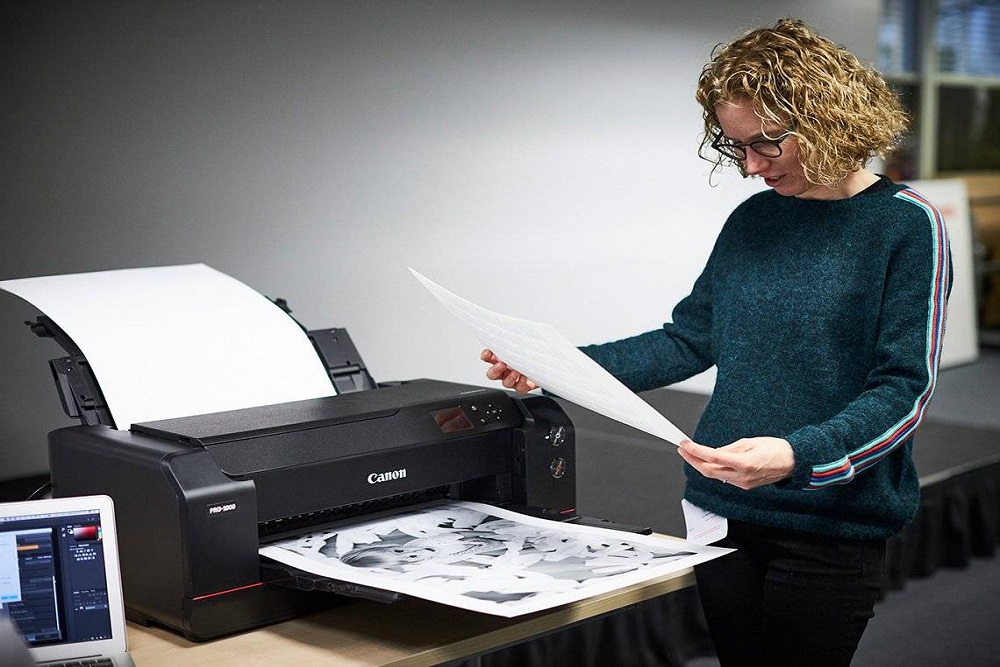
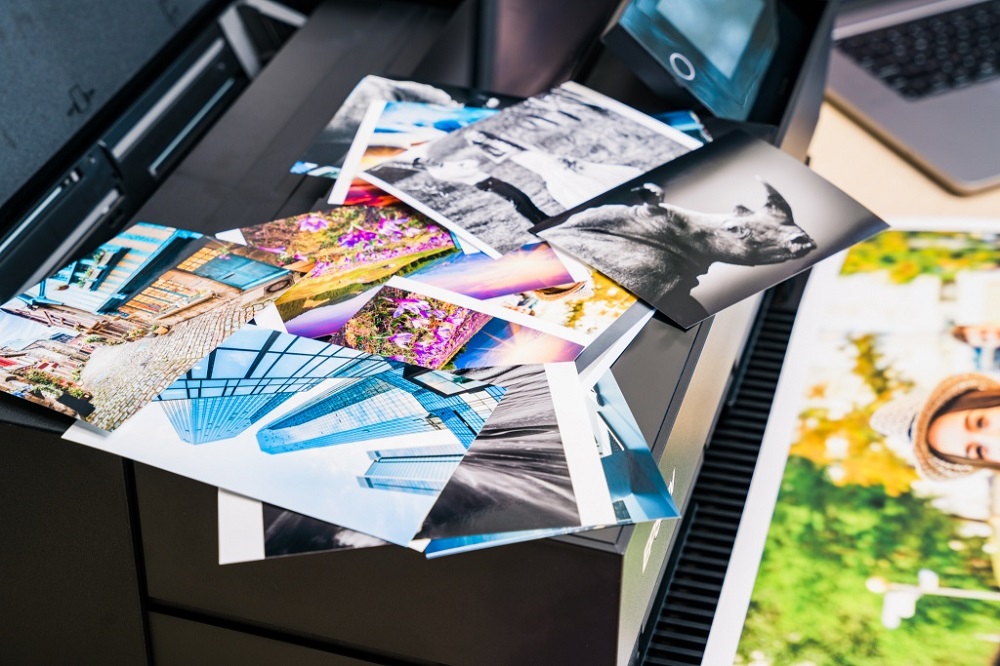
As a photographer, you've spent countless hours honing your craft, capturing stunning images, and editing them to perfection. But when it comes to professional photo printing, do you know how to ensure your prints look as amazing as they do on screen? In this comprehensive guide, we'll cover essential tips and tricks to help you achieve high-quality photo prints that showcase your work in the best possible light.
Choosing the right photo paper to understand printer settings and colour management.
1. Choosing the Right Photo Paper
The type of photo paper you choose can have a significant impact on the quality of your prints. Here are some factors to consider when selecting the perfect paper for your images:
- Finish: Photo paper comes in various finishes, including glossy, semi-gloss, matte, and fine art. Glossy and semi-gloss papers are ideal for vibrant colors and sharp details, while matte and fine art papers work well for black and white images or those with a more subtle color palette.
- Weight: Heavier photo papers tend to be more durable and less prone to curling or wrinkling. Look for papers with a weight of at least 200gsm (grams per square meter) for professional-quality prints.
- Brand compatibility: Some printer manufacturers recommend using their own branded papers for optimal results. Be sure to check your printer's documentation for any specific recommendations.
2. Understanding Printer Settings
To achieve the best possible print quality, it's essential to familiarize yourself with your printer's settings and adjust them accordingly. Here are some key settings to consider:
- Print quality: Most printers offer a range of quality settings, from draft to high quality. Always choose the highest quality setting for professional photo prints.
- Color mode: For color accuracy, select the appropriate color mode for your printer, such as Adobe RGB or sRGB.
- Paper type: Be sure to select the correct paper type in your printer settings to ensure proper ink absorption and drying.
- Print resolution: Higher print resolutions result in sharper, more detailed prints. Aim for a resolution of at least 300dpi (dots per inch) for professional results.
3. Photo Editing for Printing
Before sending your images to the printer, it's essential to optimize them for printing. Here are some photo editing tips to keep in mind:
- Crop and resize: Ensure your images are cropped and resized to the desired print dimensions and resolution.
- Sharpening: Apply subtle sharpening to your images to enhance detail and clarity in your prints.
- Color adjustment: Make any necessary color adjustments to ensure accurate and consistent colors in your prints.
- Soft proofing: Use your photo editing software's soft proofing feature to preview how your images will look when printed on your chosen paper type.
4. Print Resolution and Size
The resolution and size of your prints play a crucial role in the overall quality of your images. Here are some guidelines to follow:
- Print resolution: Aim for a minimum resolution of 300dpi for professional-quality prints. Higher resolutions may be necessary for larger print sizes or fine art applications.
- Print size: Be mindful of your image's aspect ratio when choosing a print size. Some common aspect ratios include 3:2, 4:3, and 1:1. Ensure your image dimensions are compatible with your desired print size to avoid unwanted cropping or distortion.

5. Color Management
Proper color management is essential for ensuring accurate and consistent colors in your prints. Here are some steps to follow:
- Calibrate your monitor: Use a hardware calibration device to ensure your monitor displays colors accurately.
- Use color profiles: Download and install the appropriate color profiles for your printer and paper type. These profiles help your printer accurately reproduce colors based on your chosen paper and printer settings.
- Convert to your printer's color space: In your photo editing software, convert your images to the color space used by your printer, such as Adobe RGB or sRGB.
- Soft proofing: As mentioned earlier, use the soft proofing feature in your photo editing software to preview how your images will look when printed with your chosen settings.
6. Test Prints and Proofing
Before committing to a large print run, it's a good idea to create test prints to ensure your images look their best. Here are some tips for successful test prints and proofing:
- Print multiple versions: Experiment with different paper types, printer settings, and color adjustments to find the ideal combination for your images.
- Evaluate under proper lighting: Examine your test prints under the same lighting conditions in which they'll be displayed to ensure accurate color representation.
- Make adjustments as needed: Based on your test prints, make any necessary adjustments to your images or printer settings for optimal results.
7. Proper Storage and Handling
To ensure the longevity and quality of your prints, it's essential to store and handle them properly. Here are some guidelines to follow:
- Avoid touching the print surface: Handle your prints by the edges to prevent fingerprints or smudges.
- Use archival materials: Choose acid-free, archival-quality materials for matting and framing your prints to prevent yellowing or deterioration over time.
- Protect from UV light: Display your prints behind UV-protective glass or acrylic to prevent fading or color shifts.
- Store in a cool, dry environment: Keep your prints in a temperature- and humidity-controlled environment to prevent warping, yellowing, or mould growth.
8. Final Thoughts
Professional photo printing can be a rewarding and fulfilling aspect of your photography journey, allowing you to showcase your work in a tangible, lasting format. By following the tips and tricks outlined in this guide, you'll be well on your way to creating stunning, high-quality photo prints that capture the essence of your images and impress your clients or admirers. So go ahead, explore the world of professional photo printing, and watch your photographic creations come to life!
